Kotlin Multiplatform Guide
Introduction
Hello, I am writing this as I am working on a KMM project of my own. This will serve as guide on how to get started with a KMM and CMM project.
Key Points
- What is KMM
- Creating KMM Project
- How to start your Kotlin Multiplatform project.
- Package Structure
- How the project is structured
- What do the packages mean
- What is the difference between
iosApp,androidApp, andshared - What is the difference between
shared,iosMain, andandroidMain
- What is CMM
- How to Setup CMM With Our KMM Project
- Adding Dependencies - Ktor Focused
- API calls using KTOR
kotlinx.serializationfor processing network requests and responses
- Storing And Accessing API Keys
Section 1: What is KMM*
- KMM is Kotlin Multiplatform Mobile.
- It’s meant to be a solution for cross platform development between Android and iOS. Serves as a means to share code between both platforms.
- In the case of the mobile scene even serve as a means to share UI code.
Section 2: Creating a KMM Project
Setup your environment
- Before creating your KMM project you want to make sure that you have your environment set up KMM development.
- Ensure you have Android Studio installed
- you can download the Jetbrains Toolbox to manage downloads and updates for Android Studio
- Install Xcode to run your iOS application on an simulated or real device.
- Install Java Development Kit(JDK)
- Run
java -versionin your terminal to check if you have Java installed. - You can also run it in your Android studio terminal
- Run
- Have the Kotlin Multiplatform Plugin installed in your Android Studio IDE
- Kotlin plugin
- Should come stock with Android Studio
Selecting KMM Project Configuration
- Now that we have the environment setup we can go 1 of 2 ways
- Creating the project via the Kotlin Multiplatform Wizard
- Creating the project via Android Studio
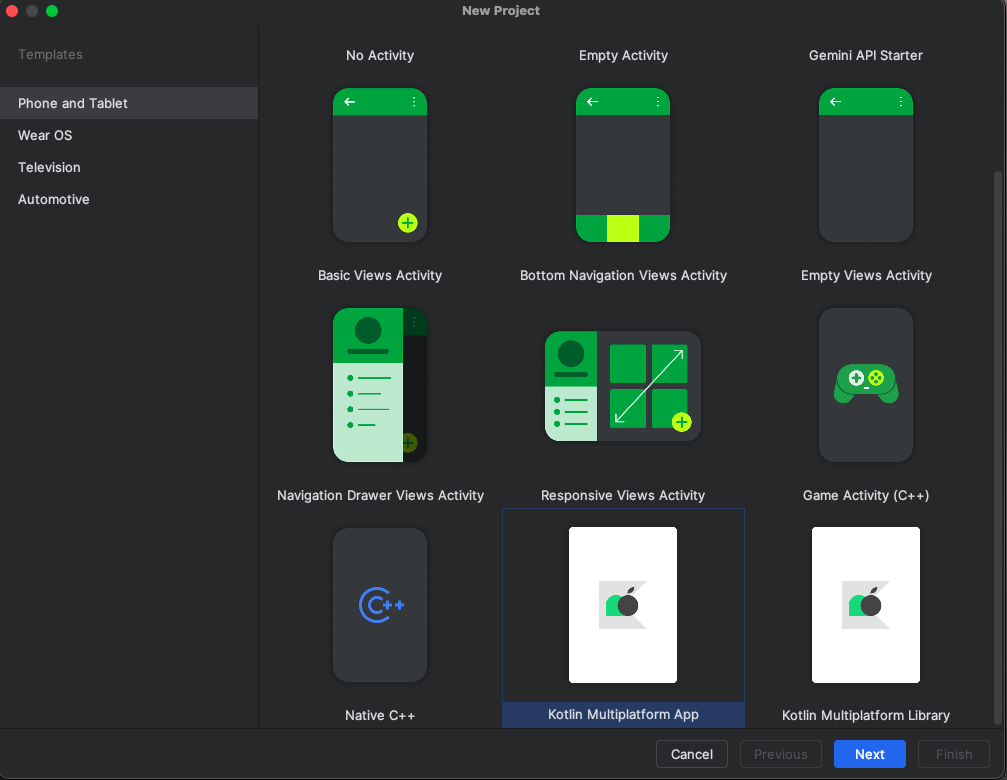
- I am doing it through Android Studio, doing it through the wizard is pretty straightforward.
- Click Kotlin Multiplatform App
 2. I included test and selected
 Regular Framework for the iOS framework distribution as dealing with cocoa pods and Ruby has come with a plethora of difficulties when dealing with it in the past.
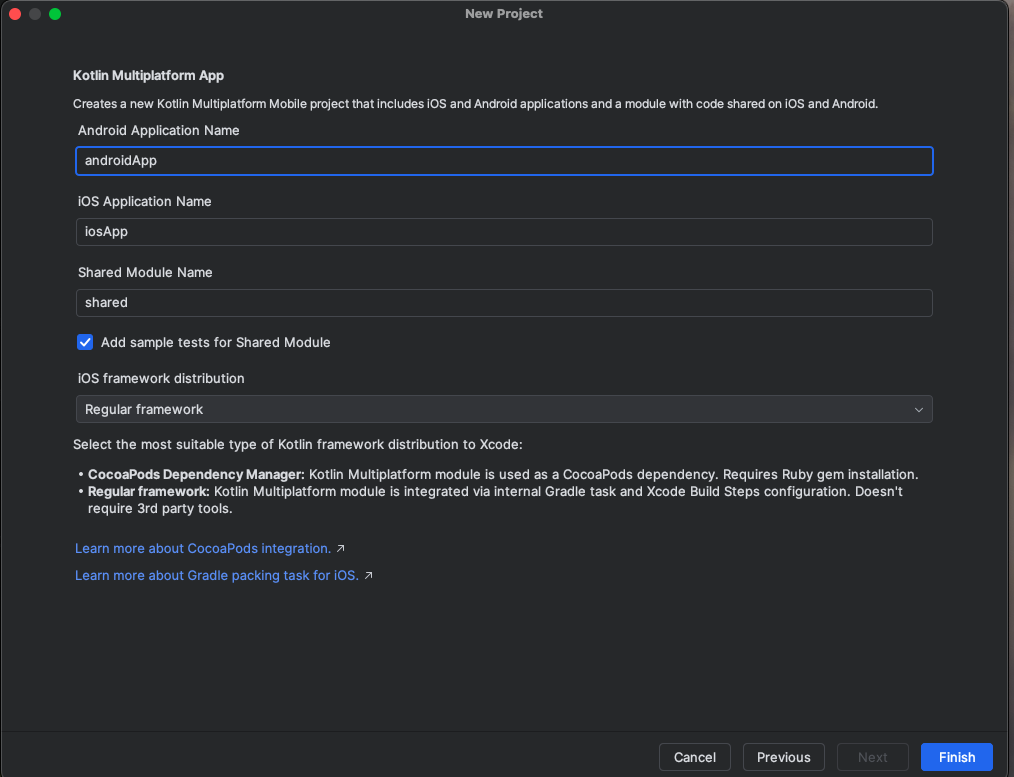 3. Click Finish
Now you have created a KMM project.
3. Click Finish
Now you have created a KMM project.
Section 3: Package Structure
KMM package structure is going to as follows
JustJogKMM
|
├── androidApp
|		├── src
|			├── main
|			└── res
|
├── gradle
|
├── iosApp
|		├── assets.xcassets
|		├── Preview Content
|		└── iosApp.xcodeproj
|
└── shared
		├── androidMain
		├── androidUnitTest
		├── commonMain
		├── commonTest
		├── iosMain
		└── iosTest
What is the difference between androidApp, iosApp, and shared
- This is where platform dependent code lives. For example in
androidAppyou will findActivitieswhich is an Android specific component. - You will find
manifest.xmlinandroidAppandinfo.plistin iosApp.
What is the difference between androidMain, shared, and iosMain
- These are source sets inside the
sharedmodule. They organize platform-specific and platform-independent code within the shared module.
androidMain
- Contains Android-specific code in the
sharedmodule. - Used for writing platform-specific implementations for Android (e.g., Android APIs, platform-dependent libraries like Room, WorkManager, etc.).
- Typically located in
src/androidMain.- Example:
actual fun getPlatformName(): String = "Android"
- Example:
iosMain
- Contains iOS-specific code in the
sharedmodule. - Used for writing platform-specific implementations for iOS (e.g., iOS APIs, platform-dependent libraries like CoreData, UIKit, etc.).
- Typically located in
src/iosMain.- Example:
actual fun getPlatformName(): String = "iOS"
- Example:
commonMain
- Contains common, platform-independent code in the
sharedmodule. - Typically located in
src/commonMain. - Used for writing reusable code that works across all platforms.
- Example:
expect fun getPlatformName(): String
Key Differences Between Source Sets
| Source Set | Purpose | Examples |
|---|---|---|
commonMain | Contains shared, platform-independent code (business logic, networking, etc.). | API calls, data models, shared logic. |
androidMain | Contains Android-specific code (platform APIs, dependencies). | Accessing Android SDK features like WorkManager. |
iosMain | Contains iOS-specific code (platform APIs, dependencies). | Accessing iOS APIs like UIKit or CoreData. |
Summary of Relationship
androidAppandiosAppare platform-specific application modules that build the actual apps for Android and iOS, respectively.sharedis the common module that holds reusable code written in Kotlin Multiplatform.- Inside the
sharedmodule:commonMain: Platform-independent (shared) code.androidMain: Android-specific implementations.iosMain: iOS-specific implementations.
What is CMM
CMM or Compose Multiplatform mobile is a declarative framework for sharing UIs across multiple platforms. Based on Kotlin Multiplatform and Jetpack Compose.
How to Setup CMM With Our KMM Project
- You have a KMM project setup.
- Under
Gradle Scripts- Go to
gradle.properties
- Go to
- Setup the versions for
kotlin,agp, andcompose- Add them to the bottom of the file.
kotlin.version=2.0.20
agp.version=8.0.1
compose.version=1.6.11- While still in the
gradle.propertieswe need to opt into experimental Compose Multiplatform API’s
org.jetbrains.compose.experimental.uikit.enabled=true- Now go into
build.gradle.ktsproject level- We need to specify the compose gradle plugin
plugins {
    // this is necessary to avoid the plugins to be loaded multiple times
    // in each subproject's classloader
    alias(libs.plugins.androidApplication) apply false         alias(libs.plugins.androidLibrary) apply false
    alias(libs.plugins.jetbrainsCompose) apply false
    alias(libs.plugins.compose.compiler) apply false
    alias(libs.plugins.kotlinMultiplatform) apply false
}- add
alias(libs.plugins.jetbrainsCompose)andalias(libs.plugins.compose.compiler)topluginsofbuild.gradleandroidApp levelbuild.gradleshared level
- Once you have done that ensure that in your
build.gradleshared level you addisStatic = true- Otherwise the shared module will not be found in XCode
listOf(
    iosX64(),
    iosArm64(),
    iosSimulatorArm64()
).forEach {
    it.binaries.framework {
        baseName = "shared"
        isStatic = true
    }
}- Add the Compose Multiplatform dependencies in the
sourceSetsblock for the shared code:
val commonMain by getting {
    dependencies {
        implementation(compose.runtime)
        implementation(compose.foundation)
        implementation(compose.material)
        @OptIn(org.jetbrains.compose.ExperimentalComposeLibrary::class)
        implementation(compose.components.resources)
    }
}
9.Go to settings.gradle
- Add the Compose Multiplatform Maven path so that it finds
maven("https://maven.pkg.jetbrains.space/public/p/compose/dev") - Paste this plugins block in the
pluginManagementblock:
plugins {
    val kotlinVersion = extra["kotlin.version"] as String
    val agpVersion = extra["agp.version"] as String
    val composeVersion = extra["compose.version"] as String

    kotlin("jvm").version(kotlinVersion)
    kotlin("multiplatform").version(kotlinVersion)
    kotlin("android").version(kotlinVersion)

    id("com.android.application").version(agpVersion)
    id("com.android.library").version(agpVersion)

    id("org.jetbrains.compose").version(composeVersion)
}- All together:
pluginManagement {
    repositories {
        google()
        gradlePluginPortal()
        mavenCentral()
        maven("https://maven.pkg.jetbrains.space/public/p/compose/dev")
    }
    plugins {
        val kotlinVersion = extra["kotlin.version"] as String
        val agpVersion = extra["agp.version"] as String
        val composeVersion = extra["compose.version"] as String

        kotlin("jvm").version(kotlinVersion)
        kotlin("multiplatform").version(kotlinVersion)
        kotlin("android").version(kotlinVersion)

        id("com.android.application").version(agpVersion)
        id("com.android.library").version(agpVersion)

        id("org.jetbrains.compose").version(composeVersion)
    }
}- Now that all the set up has been done we can head to
shared→commonMainand create our shared Compose code!
Adding Compose View to Both Android and iOS with CMM
- I went and created a shared view in
shared→commonMain
@Composable
fun GreetingView(name: String) {
    var counterMutableState by remember { mutableStateOf(0) }
    Column(
        modifier = Modifier.fillMaxSize(),
        horizontalAlignment = Alignment.CenterHorizontally,
        verticalArrangement = Arrangement.Center
    ) {
        Text(text = "Hello $name!")
        Button(onClick = { counterMutableState++ }) {
            Text("+ 1")
        }
        TextButton(onClick = { counterMutableState++ }) {
            Text("Counter: $counterMutableState")
        }

        Button(onClick = { counterMutableState = 0 }) {
            Text("Reset Counter")
        }
}}- From here I went to
androidApp→MainActivityand referenced it in my UI. - To use it on iOS I went to
shared→iosMainand created akotlinfile and added the following
fun MainViewController() = ComposeUIViewController {
    GreetingView(Greeting().greet())
}- You then go to
iosApp→iosApp.xcodeprojright click and clickopen in→Xcode- It will open the project for you in the Xcode IDE
- Build and Run the code as is to sync it with our code
- Create a
.swiftfile underiosAppand call itComposeView
import Foundation
import SwiftUI
import shared

struct ComposeView: UIViewControllerRepresentable {
    func updateUIViewController(_ uiViewController: UIViewControllerType, context: Context) {}

    func makeUIViewController(context: Context) ->
    some UIViewController {
        AppKt.MainViewController()
    }
}- Go to
ContentViewand update it
struct ContentView: View {
var body: some View {
ComposeView()
}
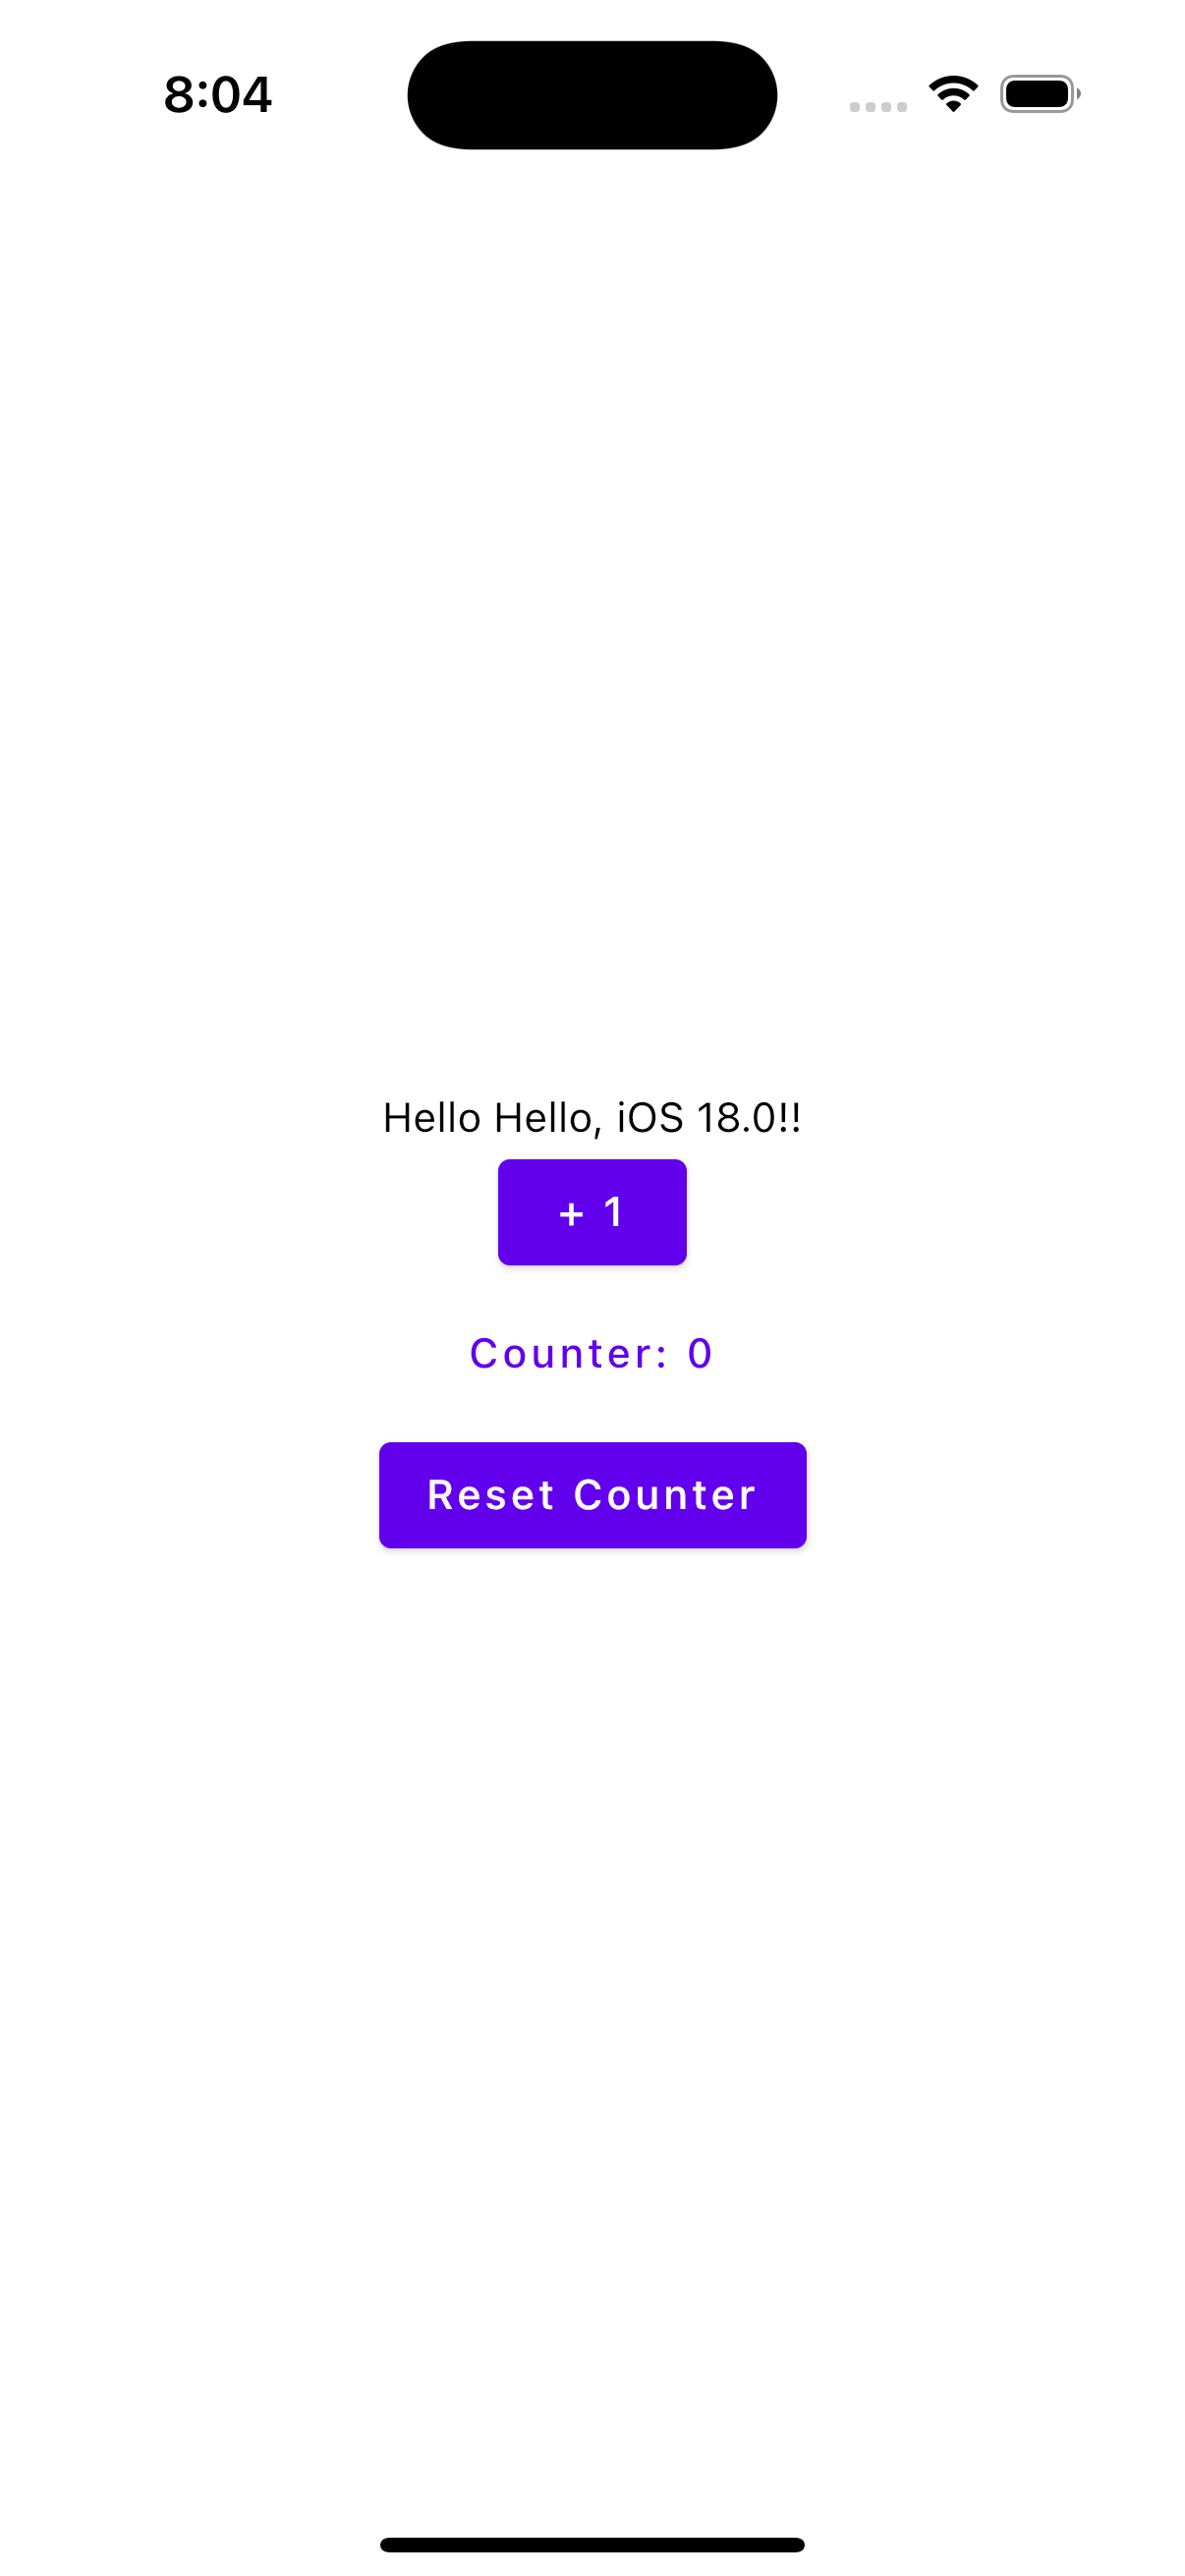
}Results
Android
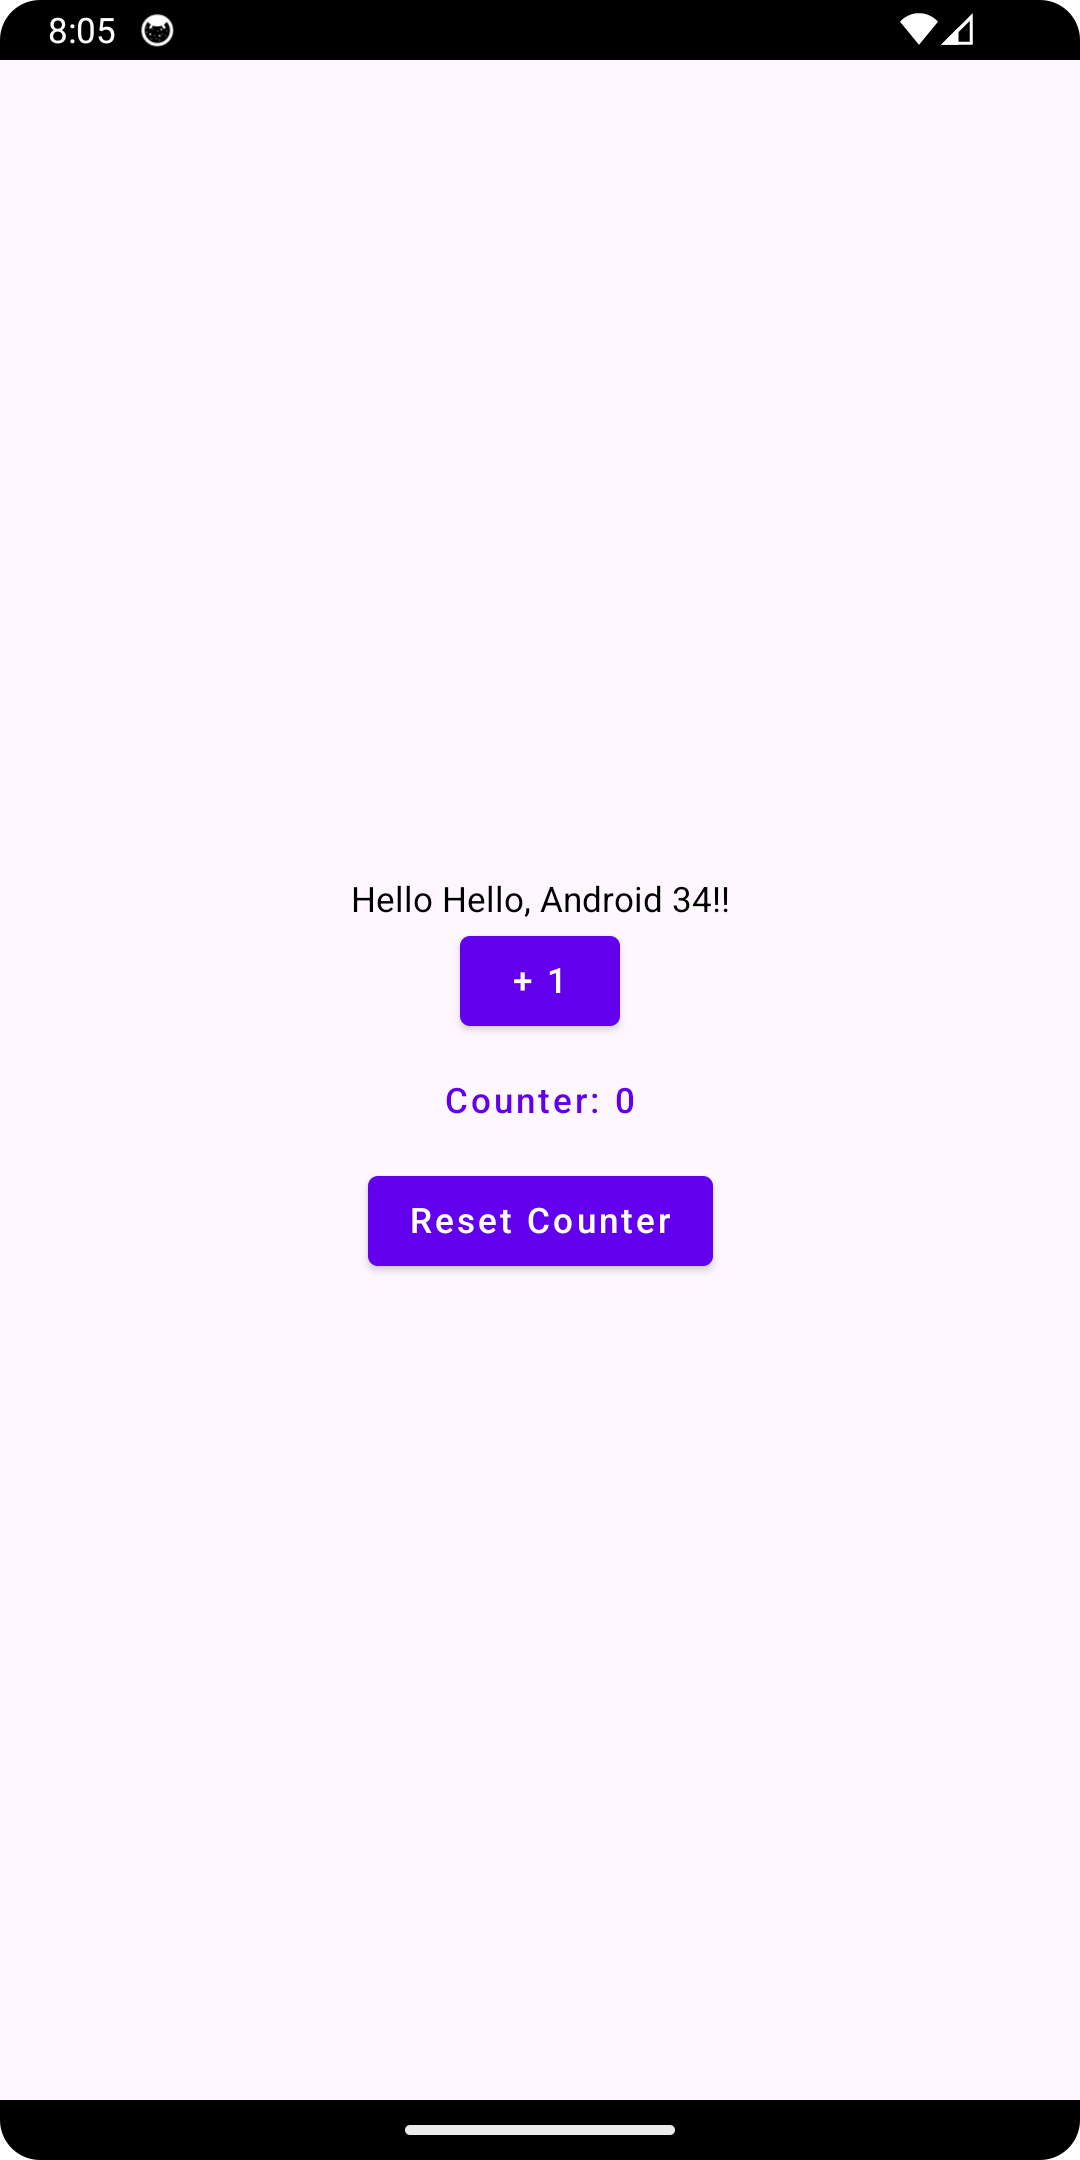
iOS
Section 4: Adding and Accessing Resources In Common Main
Setup
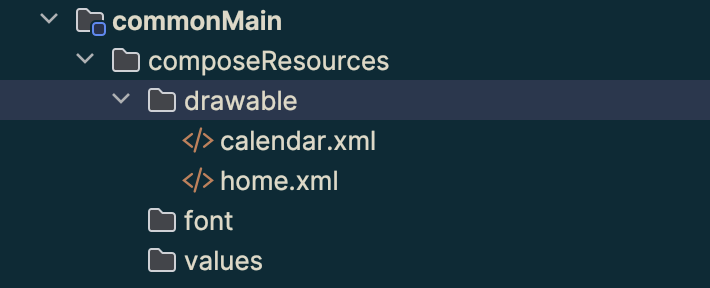
- We want to create a package/directory called
composeResourceswithincommonMain - We want to define different resources we want to be able to use cross platform.
- Example:
- Example:
- Once we have populated
composeResourceswith our shared resources we willbuildto generate aResobject that we then use incommonMainto reference those components.
Example:
enum class JustJogBottomNavigationItems(val itemName: String, val icon: DrawableResource, val index: Int) {
    STATISTICS_BOTTOM_NAV_ITEM("Statistics", Res.drawable.home, 0),
    CALENDAR_BOTTOM_NAV_ITEM("Calendar", Res.drawable.calendar, 1)
}
Warning: Once you do this, your compose previews in Android will break. Though there are work arounds, like running the preview to be able to preview your composable.
Section 5: Adding Dependencies - Ktor Focused
There is always a form of confusion when adding dependencies to your project. Is this library multiplatform compatible? Where do I put this if it’s tailored for Android vs iOS or the other way around.
Easiest way to know whether a dependency is good, is by doing compatibility checks on whether or not this library is going to work with your source set.
For example KTOR has multiple dependencies for KMM that need to be implemented in it’s different source sets.
implementation(libs.ktor.client.core)
implementation(libs.ktor.client.darwin)
implementation(libs.ktor.client.okhttp)
One of those goes into the commonMain, iosMain, and androidMain source set.
build.gradle.kts(:shared)
sourceSets {
    iosMain.dependencies {
        implementation(libs.ktor.client.darwin)
    }
      androidMain.dependencies {
        implementation(libs.ktor.client.okhttp)
    }
    commonMain.dependencies {
        implementation(libs.ktor.client.core)
    }
}
You are essentially assigning the flavor of the dependency into the source set it belongs to within your shared package. This will allow our native applications to be able to use different implementations of the same library.
View my article on Ktor in KMM for a more in depth guide.
Section 6: Storing And Accessing API Keys
Once I had my Ktor Http clients set up properly I wanted to look into how I could store and access my API keys appropriately.
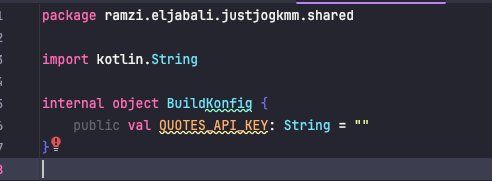
I found a for KMM library called BuildKonfig which allows us to make and use BuildConfig. Which is exactly what I needed!
So I added my API key to my local.properties file:
QUOTES_API_KEY=<yours here>
version catalogue
[versions]
buildKonfig = "0.17.1"

[plugins]
buildKonfig = { id = "com.codingfeline.buildkonfig", version.ref = "buildKonfig" }
Shared build.gradle.kts
plugins {
    alias(libs.plugins.buildKonfig)
}

buildkonfig {
    packageName = "ramzi.eljabali.justjogkmm.shared"

    defaultConfigs {
        val apiKey: String =
            gradleLocalProperties(rootDir, providers).getProperty("QUOTES_API_KEY")

        require(apiKey.isNotEmpty()) { }

        buildConfigField(STRING, "QUOTES_API_KEY", apiKey)
    }
}
I kept it as bear bones as possible, as I didn’t anything further from it.
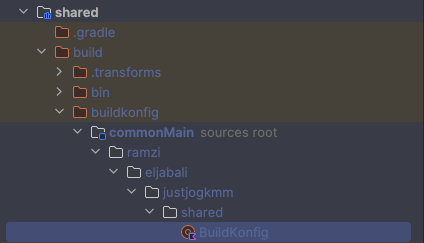
From there I sync and build my project and checked my shared/build folder and there it was buildkonfig build folder.
As simple as that, I am able to reference BuildKonfig to get my API keys like I would in a normal Android project.